Using Elasticsearch with Spring Boot - Installation and Usage
May 26, 2015
This is the second part in a series of four. It shows installation and usage.
The source code is available at the github repository.
You need a running Elasticsearch 1.x instance for this web app to work. The simplest way is to run Elasticsearch in a docker container (for example called `es-dev`)
$ docker run -d -v LOCAL_DIRECTORY:/usr/share/elasticsearch/data -p 9200:9200 -p 9300:9300 --name es-dev elasticsearch:1.7Due to technical reasons, the version 1.7 of Elasticsearch has to be used.
Edit the file application.properties in the directory src/main/resources and set
the host name or IP adress of the Elasticsearch server.
spring.data.elasticsearch.cluster-nodes=10.0.75.2:9300Now you can start the application in the source directory with
$ gradle bootRunUsing the application
Point your browser to http://localhost:8080/ (the host you started gradle on) and you'll see the following screen:
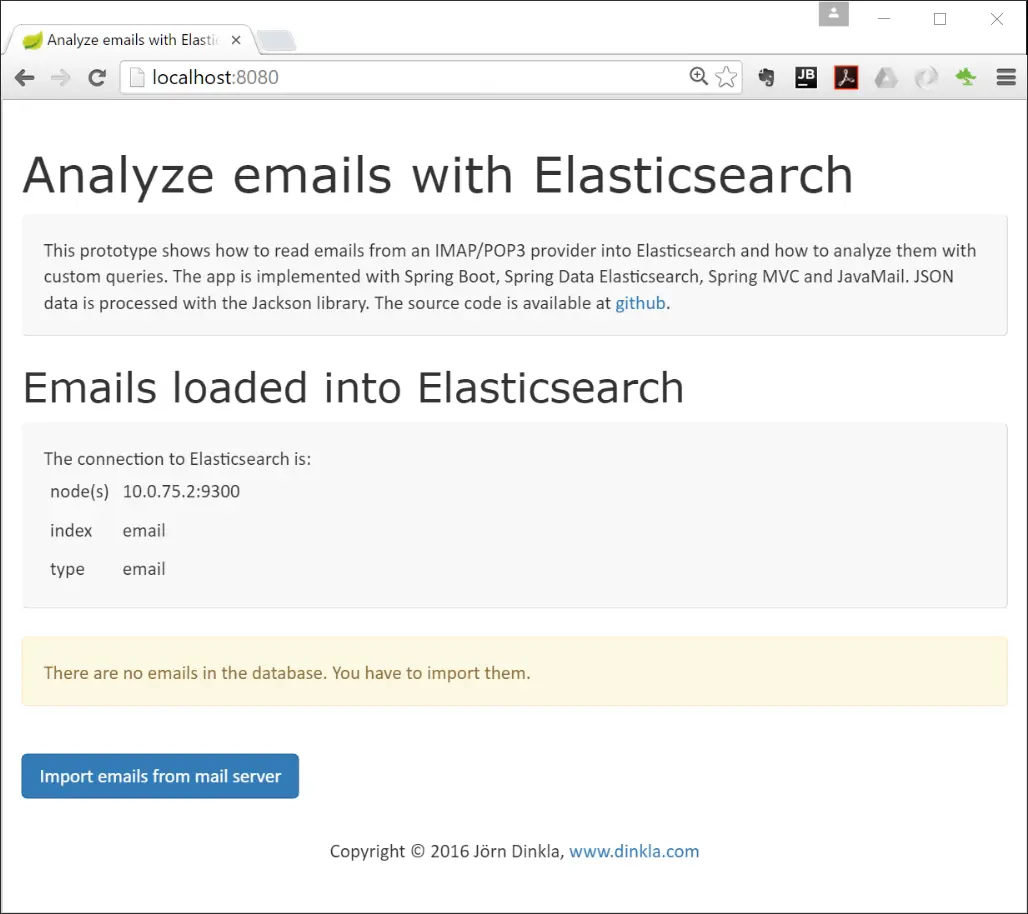
The app has not found any emails in the database. So the first step is to import emails into Elasticsearch by pressing the blue button "Import emails from mail server".
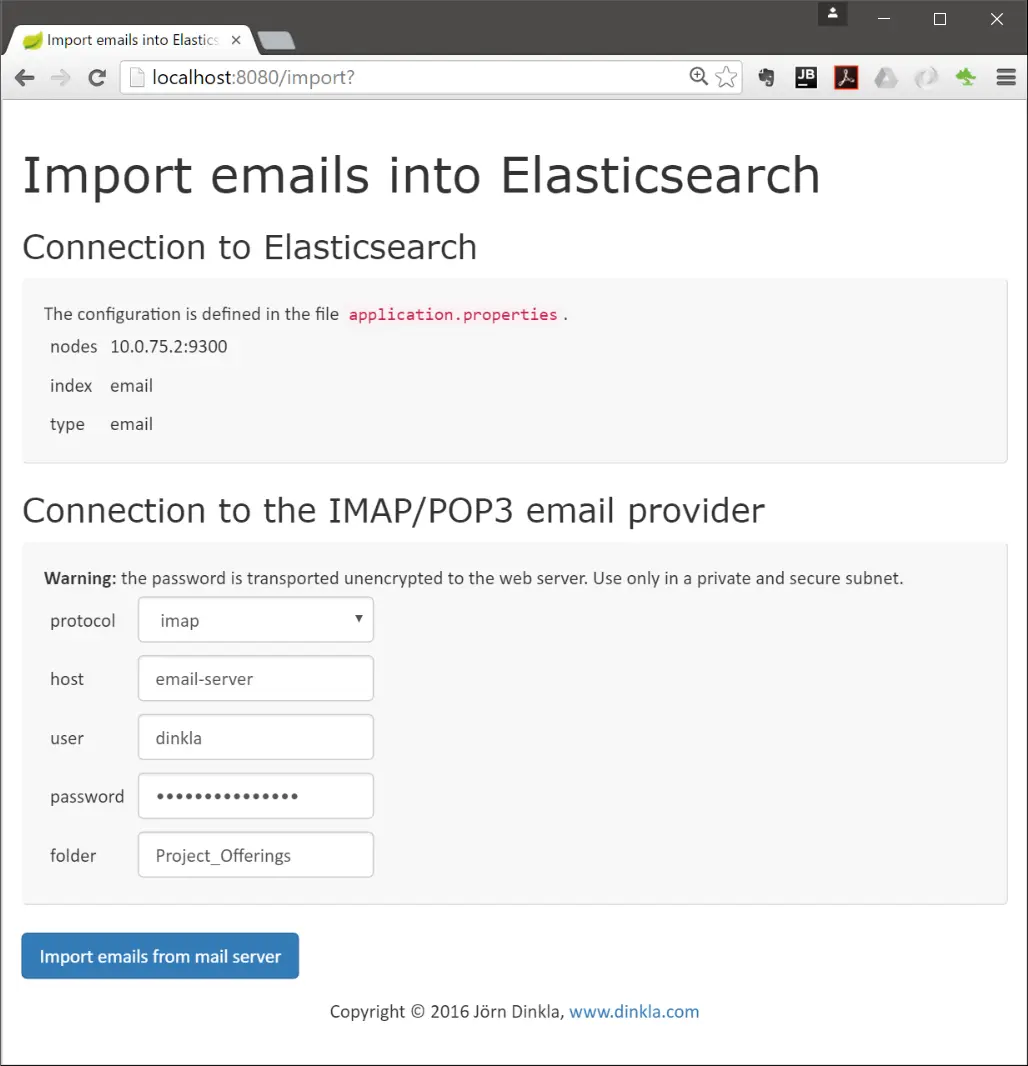
Enter the connection data and import the data. If the process is successful, it shows the number of imported emails in a green text box.
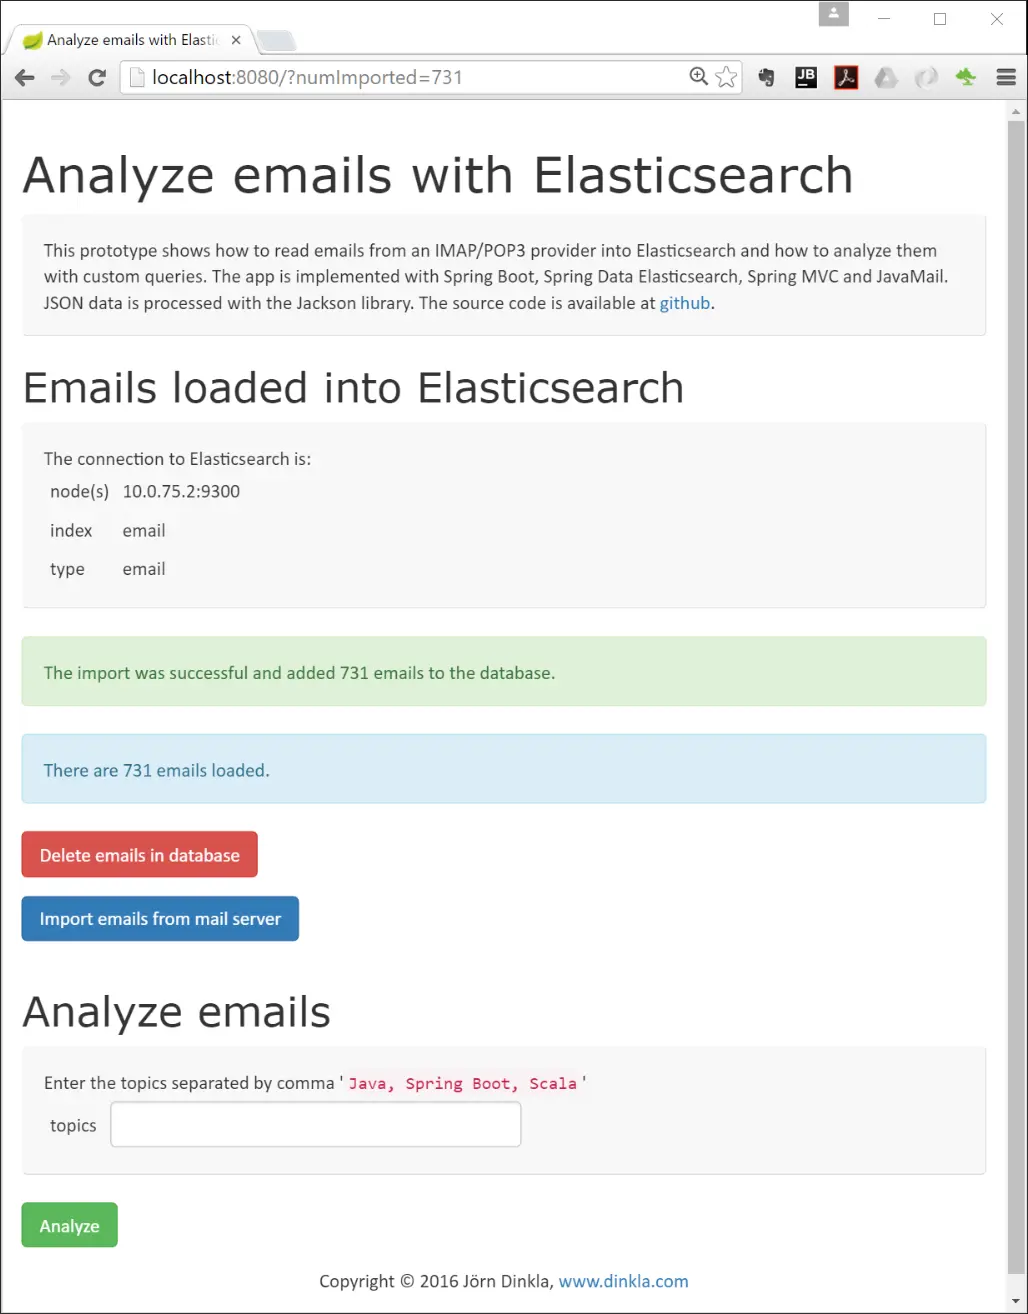
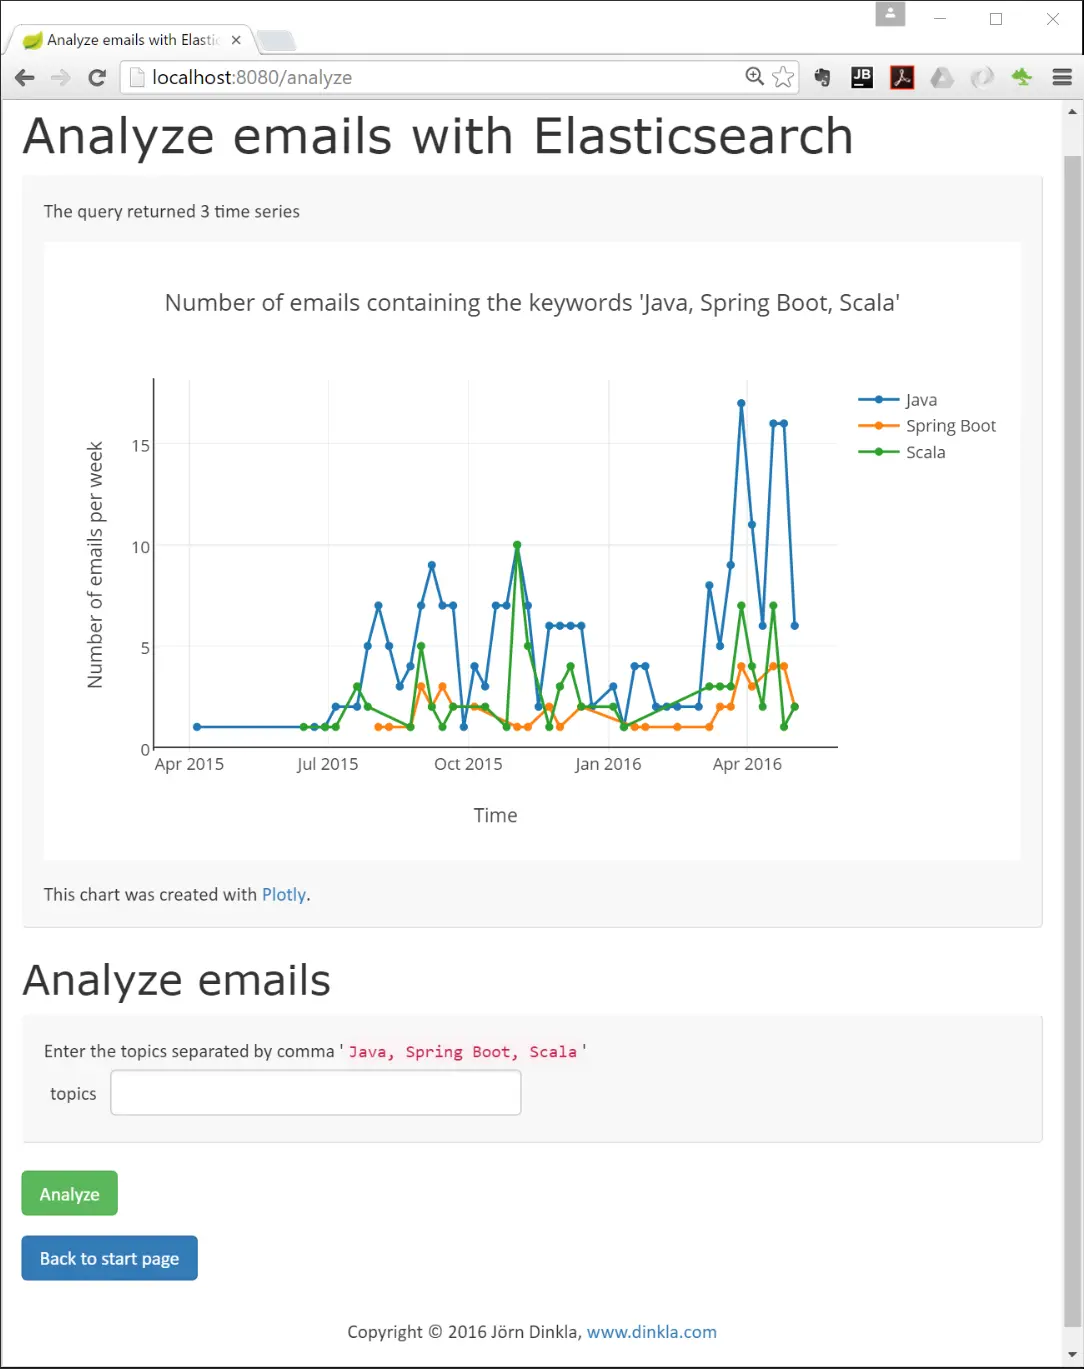
Now you can analyze the emails by searching after key words. The following screenshot shows an example with the key words
Java, Spring Boot, Scala.
Cleanup
Stop the gradle application by interruping it with CTRL-C and stop the docker container with
$ docker stop es-dev